
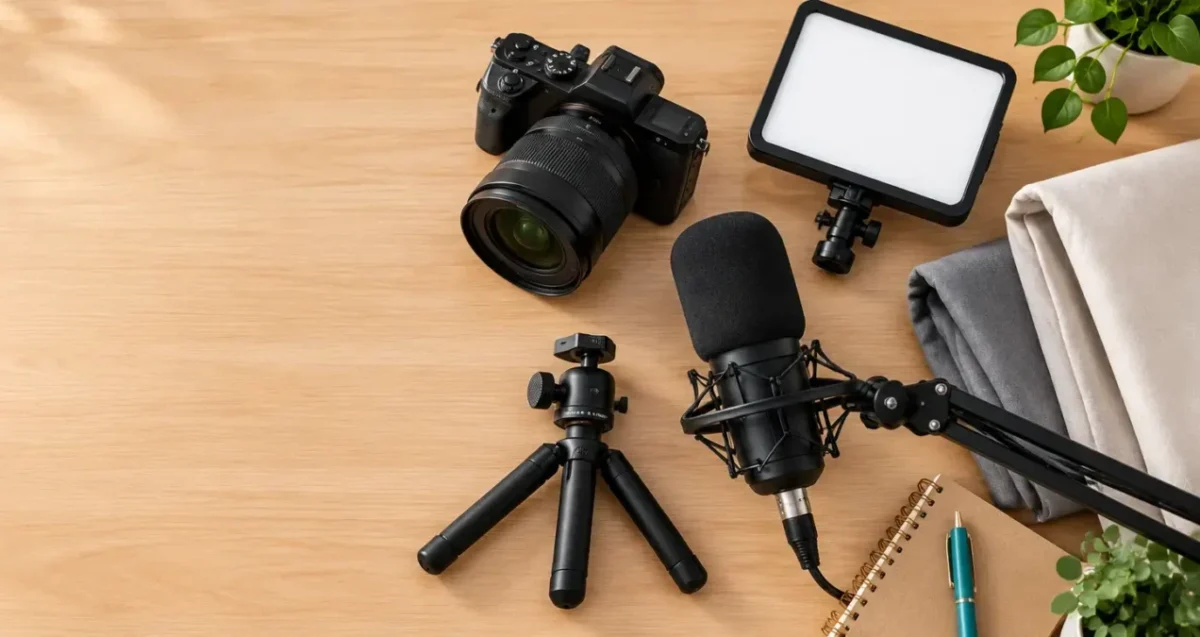
How to Set Up a YouTube Studio at Home: The Complete Beginner-to-Pro Equipment Guide
"This post contains affiliate links. If you buy through them, I may earn a small commission at no extra cost to you. I only recommend gear I genuinely believe in."
|gk|
Home YouTube studio setup for beginners.
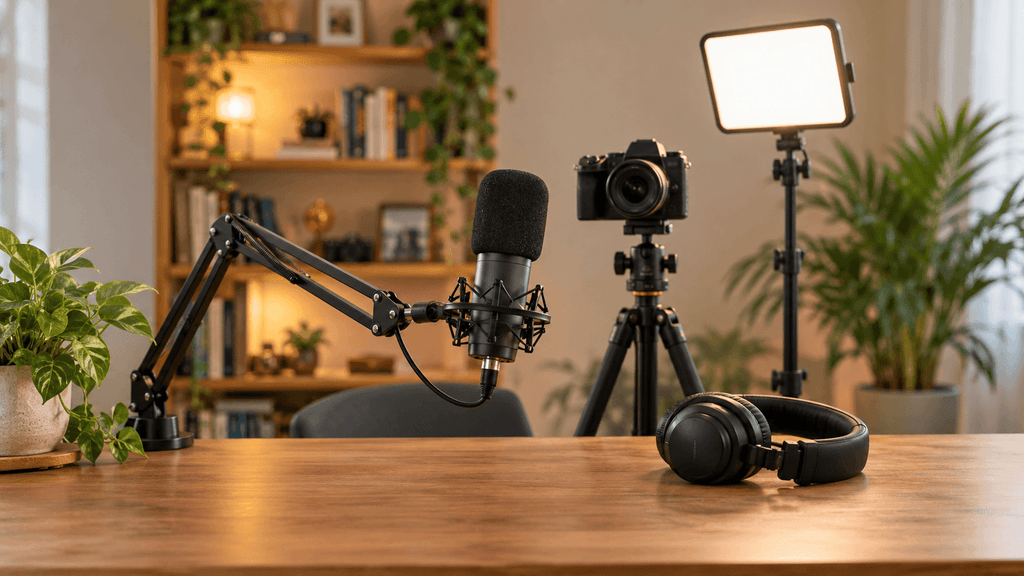
So You Want to Start a YouTube Channel. Great. Now Please Don’t Do What Everyone Does.
Here is what usually happens.
You get inspired. You open Google.
You type “Best camera for YouTube.”
Three hours later you are deep inside a forum argument about sensor sizes, your cart has seven things in it, and you have not recorded a single second of video.
“I want to save you from that rabbit hole”
This is the first post on my blog, so I am starting with the question: how to set up a YouTube studio at home, what to actually buy, in what order, and what you can happily ignore for now.
By the end of this guide you will know exactly what to buy at three budget levels (beginner, mid-range and pro), how to arrange your room, and how to avoid the mistakes that make good creators look amateur.
Grab some chai. Let’s build your studio.
Ears First, Eyes Second, Lens Third
Most beginners spend their money in the exact wrong order. They buy an expensive camera, then record with the tiny built-in mic, and wonder why the video feels cheap.
Here is the order that actually works:
1. Sound: People forgive a slightly soft picture. They do not forgive echo, hiss or muffled voices. They leave.
2. Light: A phone in good light beats a fancy camera in bad light. Every time.
3. Camera: Last, because by now your sound and light are already doing the heavy lifting.
“Keep that order in your head. Everything below follows it”.
Step 0: Choose Your Room Before You Spend a Single Rupee
“This part costs nothing, and it matters more than most gear”.
Look for a room with these four things:
• Quiet: Skip rooms facing the road, the kitchen, or the one with the noisy fan or AC. A room with a door that closes is gold.
• Soft stuff: Beds, sofas, curtains, carpets and bookshelves soak up echo. Bare walls and tile floors bounce it around.
• Light you can control: Windows are lovely, but sunlight changes every few minutes. You want to be able to cover them.
• Medium size: A huge hall echoes. A cosy bedroom or spare room is perfect.
The 60-second test: Record yourself talking on your phone, then listen back with earphones. Whatever bothers you (echo, fan, traffic) is the real problem to solve. Everything else is imaginary.

Part 1: Audio Equipment for YouTube Studio Setup
If you only upgrade one thing, make it this.
Good audio makes you sound trustworthy and professional, even when the video is simple. Here are three levels.
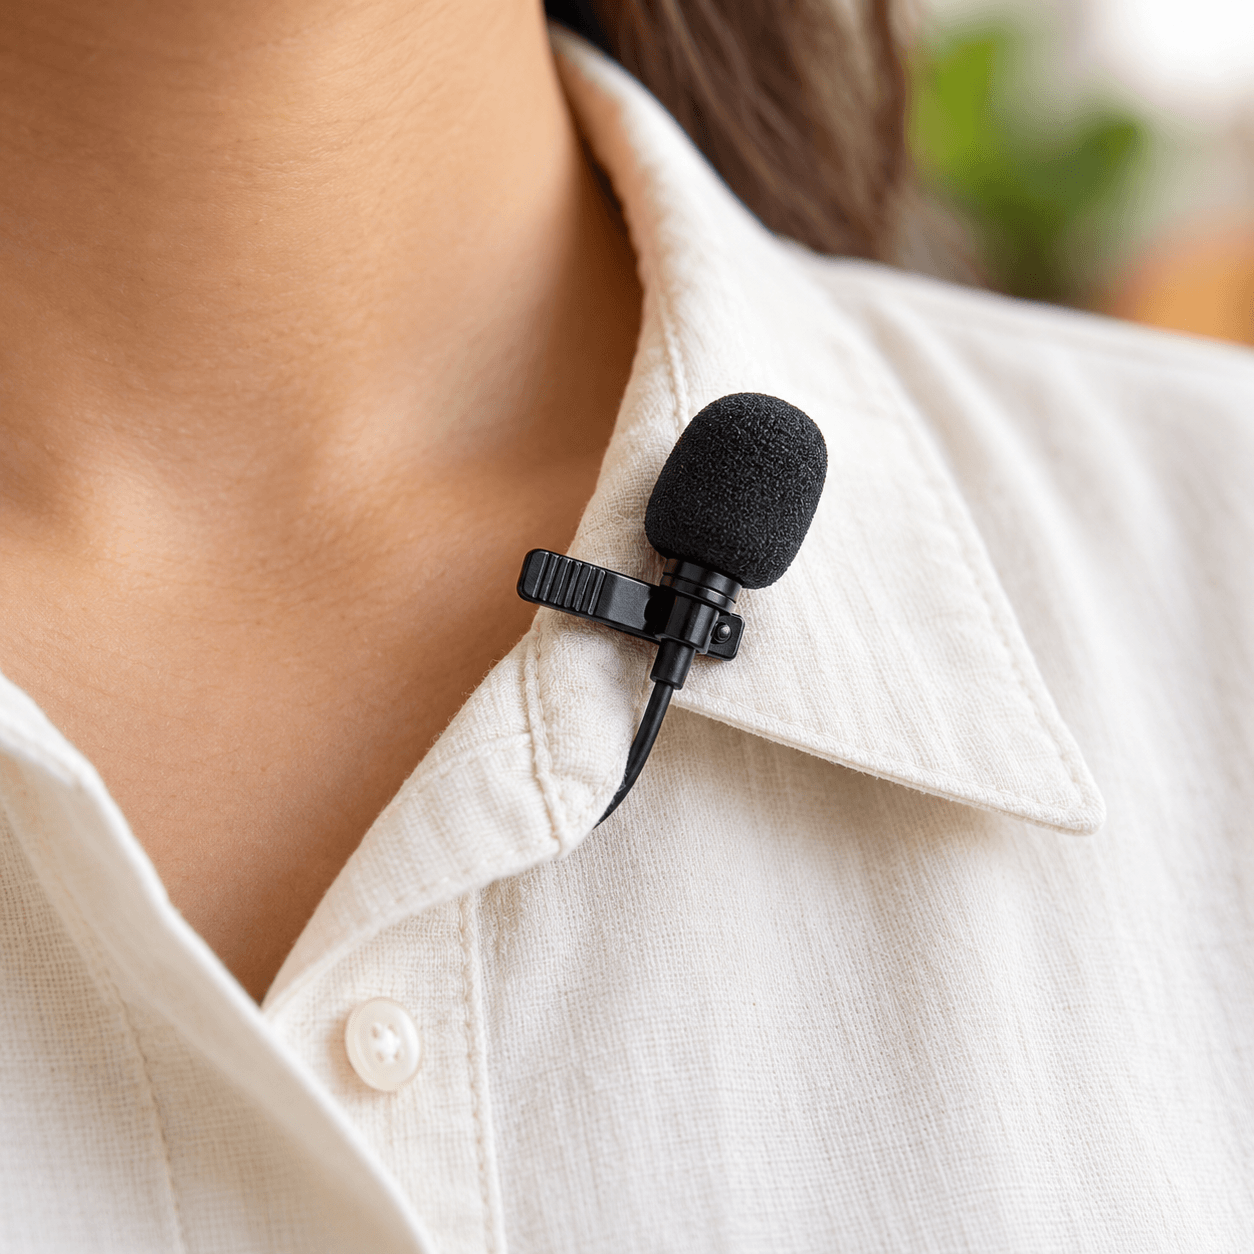
Beginner: Clip-On (Lavalier) Mic wireless
A small mic that clips to your shirt and plugs into your phone. It is cheap, tiny and a huge upgrade over any built-in mic.
• Best for: phone creators on a tight budget
• Approx. price: $30 – $50 (about ₹3,000 – ₹5,000)
• Pro tip: Clip it on your chest, a hand-width below the chin, and keep it away from necklaces or fabric that can rub against it.
- Hollyland Lark A1 Lavalier Microphone
- Hollyland Lark A2 Lavalier Microphone
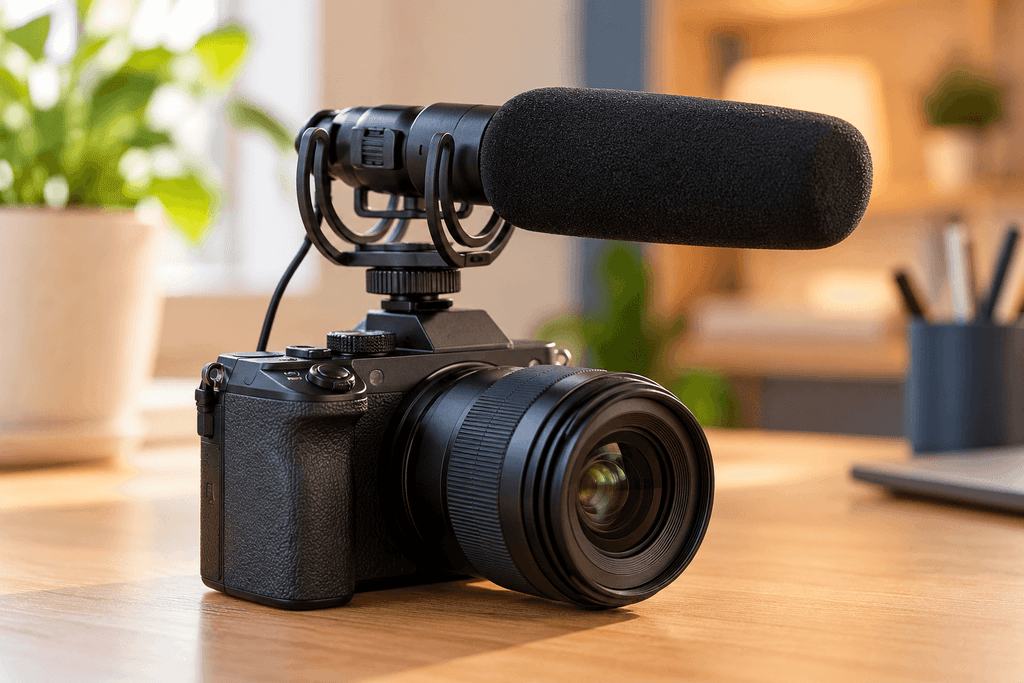
Mid-Range: Compact Shotgun Mic
This sits on top of your camera or phone rig and picks up your voice much more clearly than a lav, with a more natural sound.
• Best for: creators who film themselves at a desk and want a clean, “real channel” sound
• Approx. price: $50 – $80 ( about ₹5,000 – ₹8,000)
• Pro tip: Keep it just out of the frame, as close to your mouth as you can.
- Rode VideoMicro Unidirectional Wired Microphone
- Rode VideoMicro Compact on Camera Unidirectional Wired Microphone
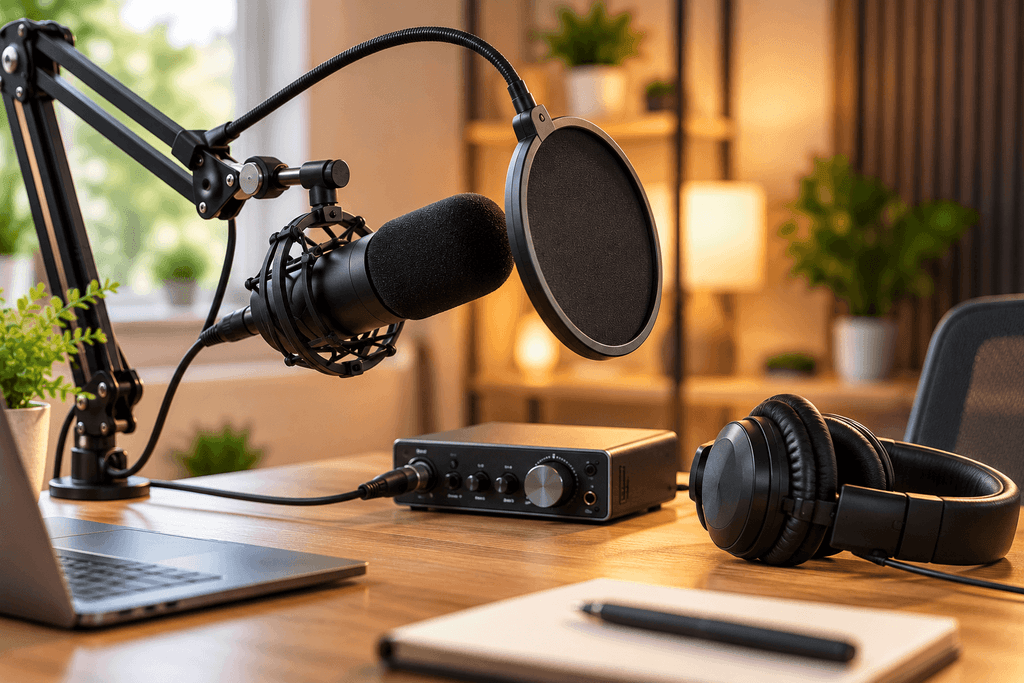
Pro: Studio Microphone with an Interface
This is the setup you see on podcasts and serious channels. A proper microphone on an arm, connected to an audio interface, gives you rich, warm, broadcast-quality sound.
• Best for: talking-head, tutorial and podcast-style channels
• Approx. price: $150 – $250 ( ₹15,000 – ₹25,000)
• Good to know: Dynamic mics like the Shure SM7B ignore a lot of room noise, which is great for homes that are not perfectly quiet.
- Shure MV7X XLR Microphone
- Shure MV7X XLR Microphone
Part 2: Lighting Equipment (The Secret Behind “Expensive-Looking” Videos)
Good lighting is the cheapest way to look professional. A sharp, glowing face on a phone beats a dull, shadowy face on a camera worth lakhs.
“The Simple Idea Behind Great Lighting”
You only need to understand three lights:
• Key light: your main light, placed in front of you, slightly to one side and a little above eye level.
• Fill light: a softer light (or a reflector) on the other side that gently removes harsh shadows.
• Back light: a small light behind you that separates you from the background and adds depth. Optional, but it makes your video look like a real production.
“Start with just the key light. Add the others as you grow”.
Beginner: Ring Light or Small LED
Easy, cheap and quick to set up.
• Approx. price: $20 – $60 (₹2,000 – ₹6,000)
• Heads up: Ring lights are great for close-up and beauty content. For talking-head and business content, a soft LED panel looks more natural.
- Kreo Slab Video Light
- Kratos Light
- Wooden Brown and Brass By Overseas Mart’s Light
- NEEWER Desk Ring Light
- NEEWER SL90C Light
Mid-Range: Adjustable LED Panel
Choose a panel where you can change both brightness and colour temperature (warm to cool). That lets you match the light in your room so your skin tone looks natural.
• Approx. price: $100 – $300 (₹10,000 – ₹30,000)
• Pro tip: Add a softbox or diffuser. Soft light is flattering light.
- NiceVeedi 2 Light
- Elgato Light
- Godox SL60IID Light
- Godox SL60IIB Light
- NEEWER CRI97+ Light
- Elgato Light
- Godox SK400IIIV Light
- Godox ES45 Light
- Godox LP600R Light
Pro: Two or Three Light Setup
A stronger key light, a fill light, and a coloured accent or back light.
• Approx. price: $500 and up (₹50,000+ )
- GVM Led CRI97+ TLCI97 Light
- Godox LA600Bi Light
- Godox LA600Bi Light
- GVM Led CRI97+ TLCI97 Light
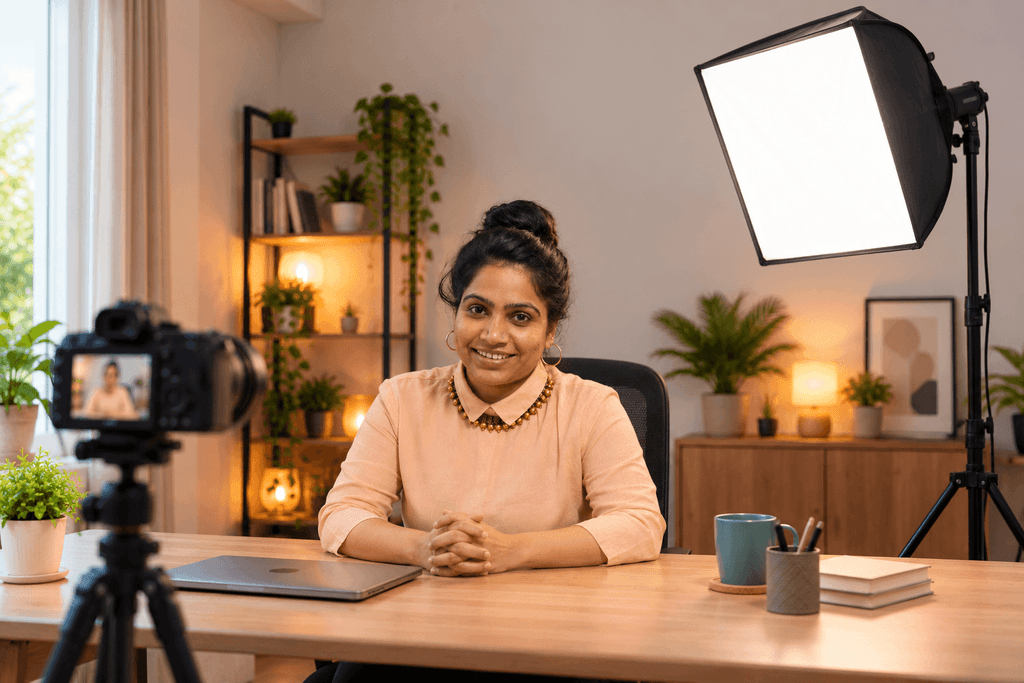

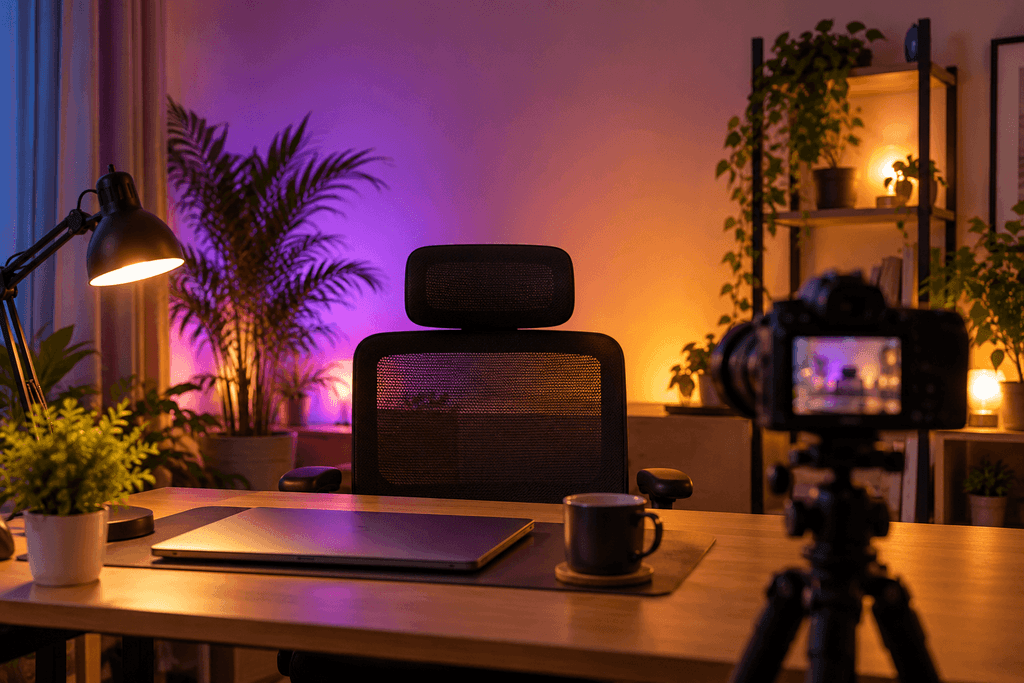
One golden rule: Cover your window or sit facing it. Never sit with a window behind you unless you want to look like a silhouette in a crime documentary.
Part 3: The Camera (You Probably Already Own One)
This is where beginners overspend the most, and where you can relax the most.
Your smartphone already shoots beautiful 4K video. If your light and sound are good, a phone is a perfectly respectable camera for your first 20 to 50 videos. Many big creators started exactly this way.
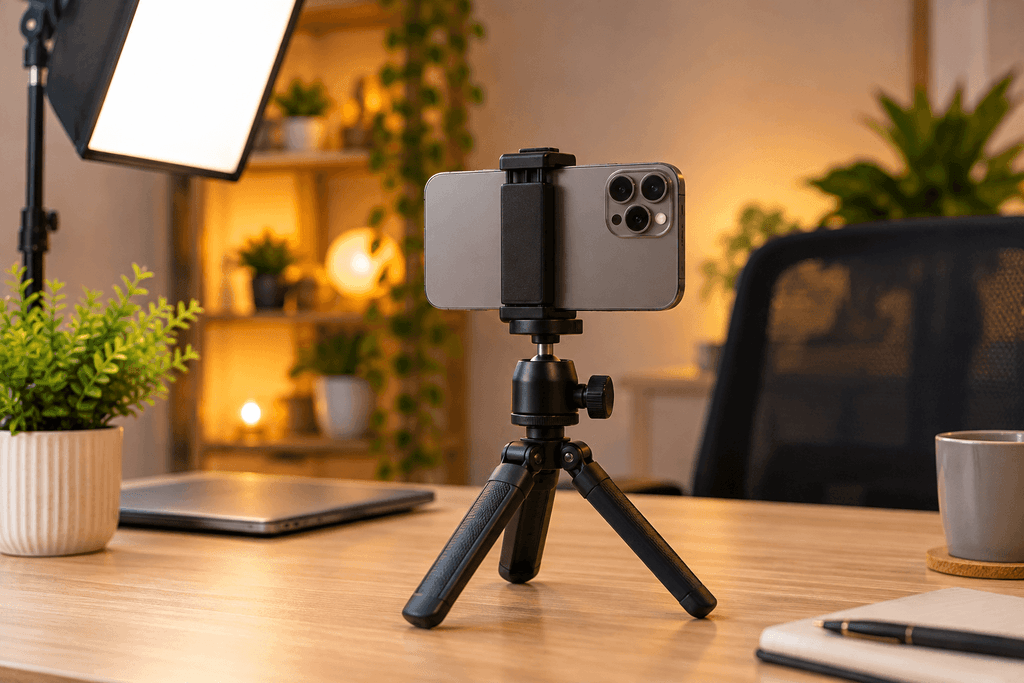
Beginner: Your Smartphone
• Cost: ₹0, you already own it
• Add: a tripod or phone clamp so it stays steady
• Pro tip: Use the back camera, not the selfie camera. The quality is noticeably better. Use a second device or a small mirror to check your framing.
Tripod, Solid Arm – Phone or Camera Holder
- EUCOS 62″ Phone Tripod
- Elgato Solid Arm
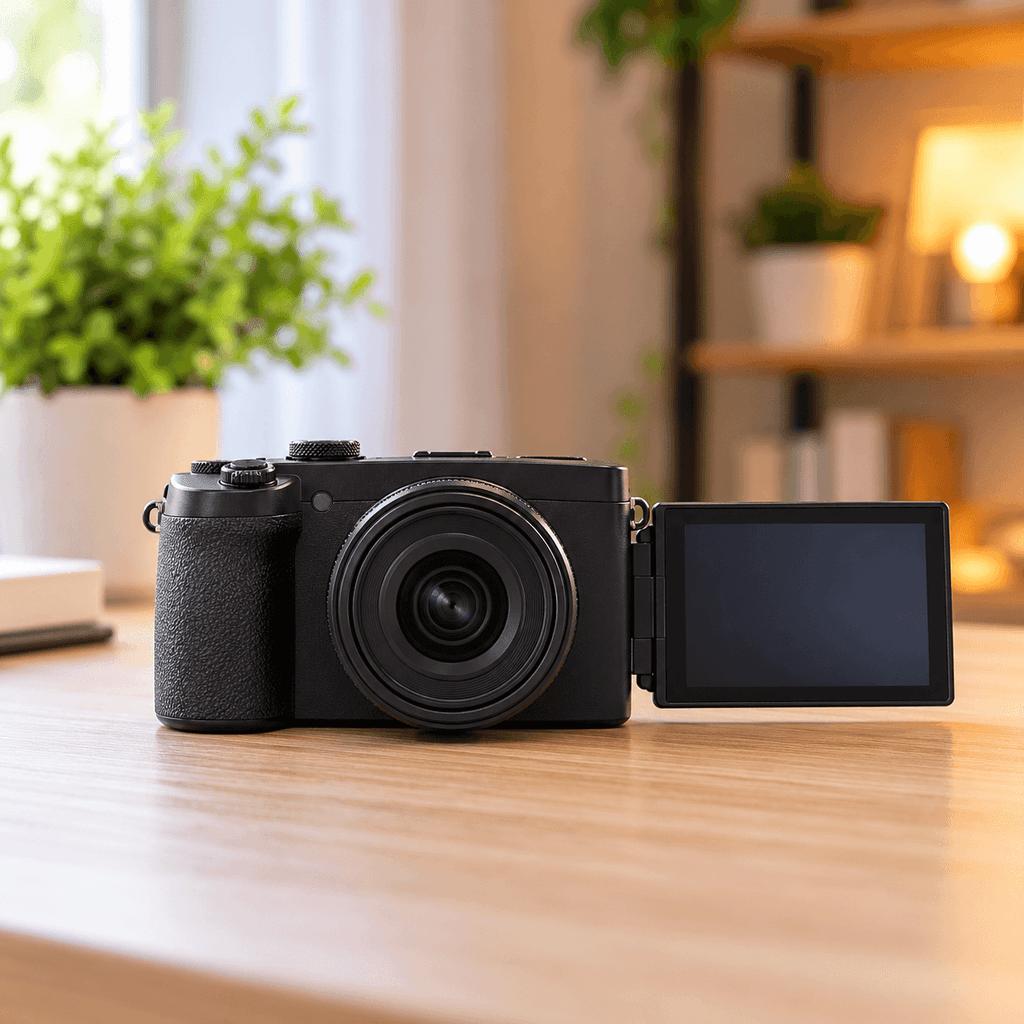
Mid-Range: Entry-Level Mirrorless or Vlogging Camera
When your channel is growing and you want softer backgrounds, better low-light and sharper autofocus, upgrade to a creator-friendly camera.
• A flip-out screen so you can see yourself while filming
• Reliable autofocus that tracks your face
• Clean HDMI output if you ever want to use it as a webcam
• A mic input
• Approx. price: $600 – $900 (₹60,000 – ₹90,000)
- Sony Alpha ZV-E10K (Recommended)
- Fujifilm X-M5 (Recommended)
- OBSBOT Tiny 3 (Recommended)
Pro: Latest-Generation Mirrorless Camera + Fast Lens
A newer creator camera with excellent autofocus and 4K, paired with a lens that has a low f-number (f/1.8 to f/2.8). That is what gives you the creamy blurred background.
• Approx. price: $1,000 and up (₹1,20,000 and up)
- Sony Alpha ZV-E10M2K (Recommended)
- Sony Alpha ILCE-6700M
- Sony Alpha ILCE-7CM2L (Best Recommended)
Part 4: Make Your Room Sound Good (Cheap Tricks That Work)
Here is a truth that surprises everyone: a cheap mic in a well-treated room will beat an expensive mic in an echoey one.
You do not need a professional studio.
Try these in order:
1. Add soft things. Rugs, curtains, cushions, a bookshelf full of books. Echo hates them.
2. Hang heavy curtains around your recording spot. It turns a bedroom corner into a mini booth.
3. Use acoustic foam or panels on the side walls, near your recording position. Not behind you, on the sides.
4. Seal the gaps. Weather-stripping on doors and windows keeps outside noise out.
5. Switch off fans, ACs and fridges nearby while recording. You will not notice the hum in the room, but your mic will.
- MMT Acoustix®
- Cortina Door Curtains (Tested & Recommended)

Your Background:
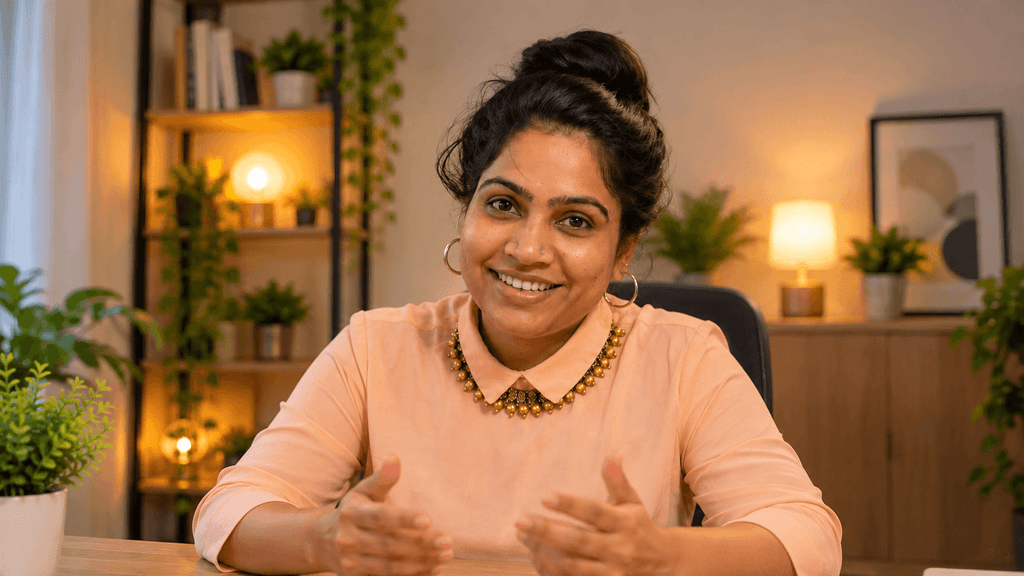
Keep it simple and intentional:
• A plain wall with one nice piece of art is more professional than a cluttered one.
• A bookshelf, a plant, a warm lamp adds personality.
• Avoid mirrors in the shot, loose wires and piles of random stuff.
• Do not wear colours that match your wall, or you will blend in.

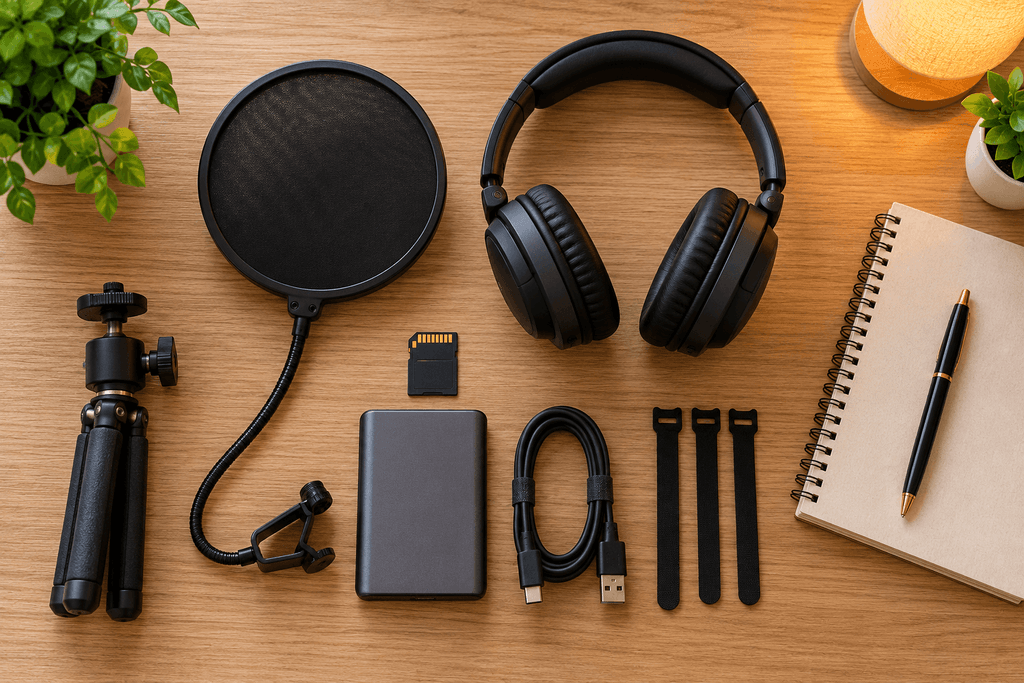
Part 5: The Small Gear That Makes a Big Difference
These are not glamorous, but you will use them every single day.
• Mic boom arm: keeps your mic at the perfect distance and stops desk vibrations.
• Pop filter: a cheap mesh screen that softens harsh “P” and “B” sounds.
• Closed-back headphones: so you can actually hear problems before you publish.
• Spare memory card and an external SSD: because losing a day of footage is a special kind of heartbreak.
• Cable ties and a desk mat: tidy wires make your whole space look better.
• A comfortable chair: you will be sitting here a lot. Your back (and your posture on camera) will thank you.
Part 6: Editing Software (Do Not Overthink This)
The best editing app is the one you will actually open every week.
• Free and beginner-friendly: CapCut, DaVinci Resolve (free version is incredibly powerful) or iMovie on Apple devices.
• Time-saver for talking videos: Descript lets you edit video by editing text, almost like editing a Word document.
• Professional standard: Adobe Premiere Pro or Final Cut Pro (Mac only).
Start free. Upgrade only when the software, not you, becomes the bottleneck.

T&C (disclaimer):
"Prices mentioned are approximate and may change over time. Please check the current price on the seller's website before you buy."Every product in this guide has been carefully researched by me and my team, based on value for money, specs, real user reviews and feedback, so you don’t have to.
Quick Shopping Lists for YouTube Studio Setup
Beginner Setup (under $100 / around ₹10,000)
• Your smartphone
• Phone tripod
• Lavalier mic
• Ring light or small LED panel
• Pop filter
• Free editing app
Mid-Range Setup ($600 to $900 / around ₹60,000 to ₹90,000)
• Entry-level mirrorless or vlogging camera, or a strong webcam
• Shotgun mic or wireless mic
• Adjustable LED panel with softbox
• Boom arm, headphones, acoustic panels
• Full-size tripod
Pro Setup ($1,200 and up / ₹1,20,000 and up)
• Latest creator camera with a fast lens
• Shure SM7B-style mic with audio interface
• Two or three LED lights with a back light
• Wall-mounted arms, acoustic treatment, rug and curtains
• Teleprompter, external SSD and professional editing software
Part 7: 7 Mistakes That Will Cost You More Than Any Gear Ever Could
1. Waiting until your setup is “perfect.” It never will be. Publish the first video this week.
2. Buying the camera before the mic. Sound first, remember?
3. Ignoring the room. A noisy, echoey room ruins even the best mic.
4. Mixing warm and cool lights. Your face ends up half orange, half blue.
5. Sitting too far from the camera. Fill the frame with your face and shoulders.
6. Looking at yourself, not the lens. Eye contact with the lens feels like eye contact with your viewer.
7. Posting once and disappearing. Consistency grows a channel faster than equipment ever will.
Frequently Asked Questions for YouTube Studio Setup
What is the minimum equipment I need to start a YouTube channel?
You can start with a smartphone, a stable phone mount, a suitable microphone, and good lighting. A quiet recording space and free editing software are also helpful. You do not need to buy a dedicated camera immediately.
How much does it cost to set up a home YouTube studio?
The cost depends on your existing equipment and recording needs. If you already own a smartphone, you can begin with a modest additional budget and upgrade gradually. A dedicated camera, professional lighting, and advanced audio equipment can increase the total substantially. Calculate current product prices before setting a budget.
You can start for under $100. A solid mid-range setup is $600 to $900, and a professional one starts around $1,200.
Do I need a DSLR or mirrorless camera to start on YouTube?
No. Modern phones are excellent. Upgrade only when you feel your camera is holding you back.
Which is more important, audio or video quality?
Audio. Viewers leave quickly when the sound is bad, and they forgive average video much longer.
What is the best lighting for a YouTube studio?
A soft, adjustable LED light placed slightly to one side of the camera is a good starting point. Window light can also work well if you control the exposure and avoid strong backlighting.
Final Thoughts: Start Messy, Get Better, Keep Going
Nobody is perfect.
- But the creators you admire did not wait for the perfect studio. They started with a phone, a lamp and a quiet corner, and they upgraded one thing at a time as they grew.
So here is your homework before you make a YouTube Studio Setup:
1. Pick your quiet room.
2. Buy or borrow a mic.
3. Set up one soft light.
4. Press record.
The gear is the easy part. The showing up is what builds a channel.
If this guide helped you, share it with a friend who keeps saying “I want to start YouTube,” and let me know in the comments what you are building your setup around.
“See you in the next post”.

Excellent. These recommendations are very helpful.